How to Set Up a Small-Scale Studio
Establishing a small-scale studio can be an exciting venture for hobbyists looking to turn their passion into a productive outlet. However, it requires careful planning, resource allocation, and a solid understanding of effective practices. In this article, we'll explore the essential steps to set up your studio, ensuring you have a space that fosters creativity and productivity.
Understanding the Basics
Setting up a small-scale studio involves several foundational elements. According to industry research, a well-designed studio can enhance workflow and creativity, often leading to a more fulfilling hobby experience. To achieve this, you need to consider factors such as space, equipment, and organization.
"A thoughtfully designed workspace is crucial for creativity and productivity, according to experts in the field of workspace design."
Choosing the Right Space
The first step in setting up your studio is selecting an appropriate space. Ideally, this should be a quiet area where you can focus without interruptions. Many users report that having a dedicated space helps in establishing a routine. Here are some considerations:
- Size: Ensure the space is large enough for your equipment and allows for movement. A cramped space may hinder creativity.
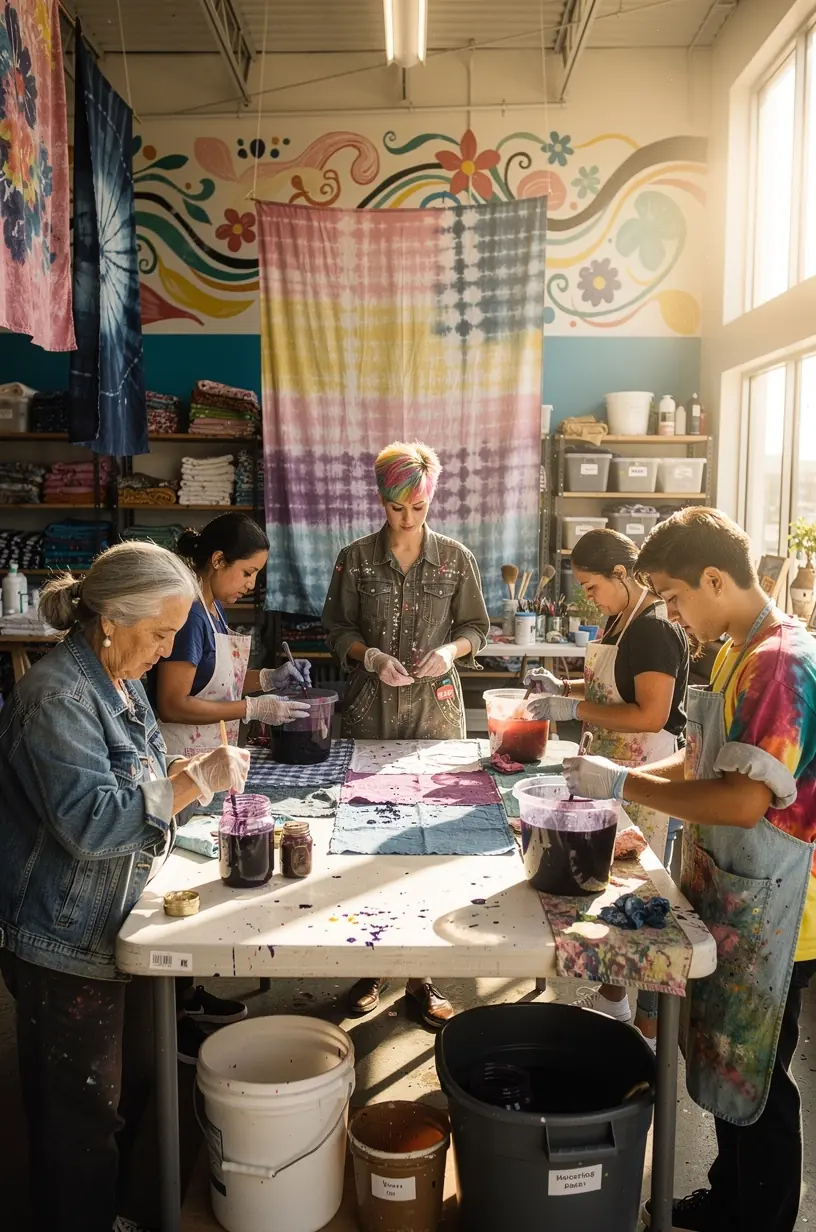
- Lighting: Natural light is preferable, as studies show it can boost mood and productivity. Consider adding artificial lighting that mimics daylight for evening work.
- Ventilation: Proper airflow is essential, especially if you're working with materials that emit fumes, such as paints or adhesives.
Essential Equipment and Tools
Next, you'll need to gather the right equipment. The tools you select will largely depend on your craft. Experts recommend starting with the essentials and gradually adding more specialized tools as your skills develop. Here's a typical list of items to consider:
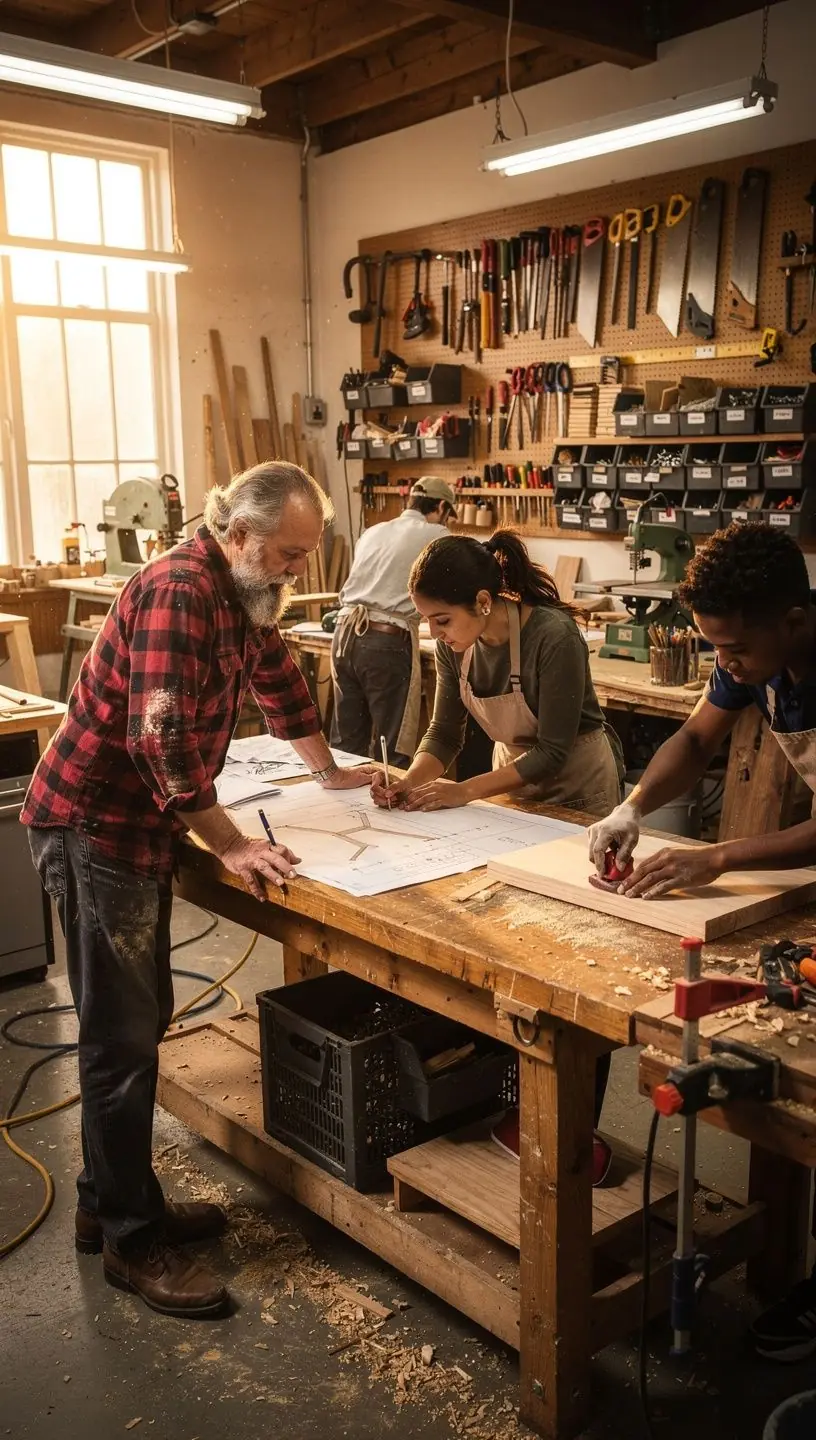
- Work Surface: A sturdy table or desk can serve as the foundation for your projects.
- Storage Solutions: Invest in shelves, bins, or cabinets to keep your materials organized. This approach has been shown to improve efficiency.
- Basic Tools: Depending on your craft, this may include scissors, cutting mats, brushes, or sewing machines.
Organizing Your Studio
Once you have your space and equipment, it's important to organize your studio effectively. A well-organized studio can enhance your workflow and save time. Many users find that implementing a systematic approach to organization yields higher productivity. Here are some tips:
- Designate Zones: Create specific areas for different activities—such as cutting, assembling, and finishing—to minimize disruptions.
- Label Everything: Clearly labeling storage bins and tools can help you find what you need quickly.
- Regular Cleanup: Set aside time each week to tidy up your space, which can make a significant difference in maintaining an inspiring environment.
Conclusion
Establishing a small-scale studio is a rewarding process that requires thoughtful planning and organization. By understanding the basics and implementing effective practices, you can create a space that not only supports your hobby but also enhances your overall experience. Remember that this is an ongoing journey; as your skills evolve, so too can your studio. With patience and dedication, you can transform your passion into a fulfilling pursuit.